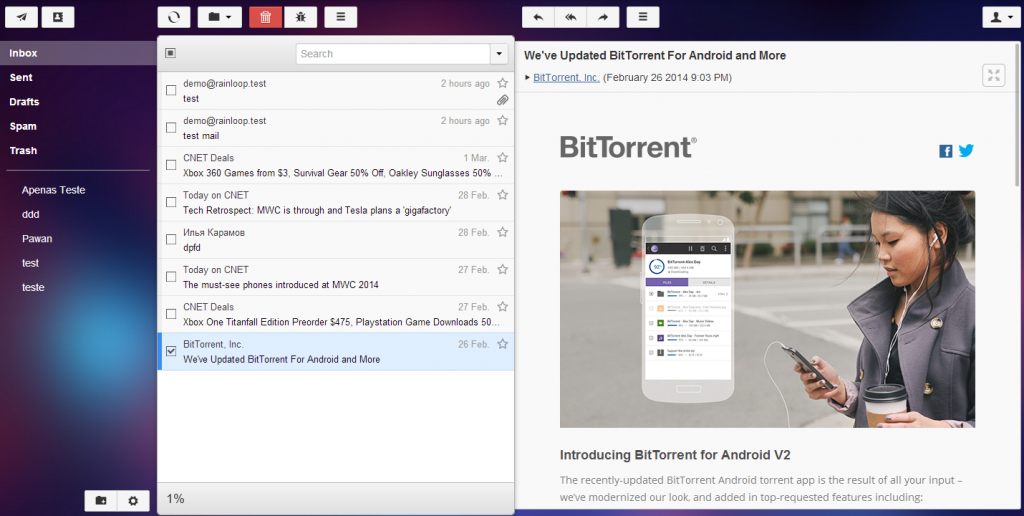
Breve how-to su come installare e configurare Rainloop (webmail semplice e leggera) con nginx come webserver su Ubuntu 14.04 e 16.04
Abbiamo già parlato in un vecchio articolo di Rainloop, una webmail leggera e semplice, ottima candidata per una eventuale sostituzione di Roundcube sui nostri server con hosting panel come ISPConfig 3.x o VestaCP.
In questo breve howto voglio spiegarvi rapidamente come tirarla su con pochissimi comandi su un server Ubuntu (sia 14.04 che 16.04) con nginx come webserver.
Prima di tutto creiamo le dir che ospiteranno la nostra webmail
mkdir -p /var/www/rainloop/{public_html,logs}
Assegniamo i permessi user:group nel nostro webserver, nel mio caso utilizzo www-data:www-data
chown -R www-data:www-data /var/www/rainloop/
Scarichiamo l’installer ed avviamolo
cd /var/www/rainloop/public_html/
wget -qO- http://repository.rainloop.net/installer.php | php
Ora creiamo un vhost per nginx
pico /etc/nginx/sites-available/rainloop.vhost
ora incolliamo al suo interno sostituendo il server_name webmail.dominio.it ed eventualmente la porta
server {
        listen 80;
        server_name webmail.dominio.it;
        root /var/www/rainloop/public_html;
        access_log /var/www/rainloop/logs/access.log;
        error_log /var/www/rainloop/logs/error.log;
        index index.php;

        location / {
                try_files $uri $uri/ /index.php?$query_string;
        }

        location ~ \.php$ {
                fastcgi_index index.php;
                fastcgi_split_path_info ^(.+\.php)(.*)$;
                fastcgi_keep_conn on;
                include /etc/nginx/fastcgi_params;
                fastcgi_pass 127.0.0.1:9000;
                fastcgi_param SCRIPT_FILENAME $document_root$fastcgi_script_name;
        }

        location ~ /\.ht {
                deny all;
        }

        location ^~ /data {
        deny all;
        }
}
poi attiviamolo
ln -s /etc/nginx/sites-available/rainloop.vhost /etc/nginx/sites-enabled/
Non ci resta che riavviare nginx con il comando
service nginx restart
Ricordiamo che sono disponibili molti plugin da installare per questa ottima risorsa.
Rainloop è disponibile sul sito ufficiale anche in una versione Premium


