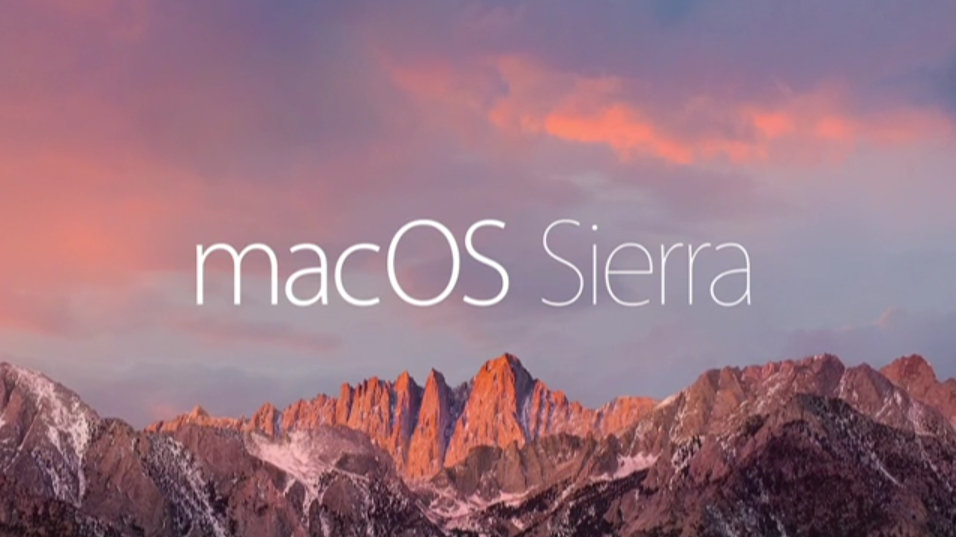
Creare pennetta USB bootabile di Sierra con qualche comando del terminale
Creare una pendrive USB bootabile per effettuare una installazione pulita del nostro OS è un’operazione molto utile e non troppo difficile.
- Prima di tutto scarichiamo dallo store l’ultima versione di OSX Sierra.
- Una volta scaricato, inseriamo una penna USB (almeno da 8GB) e apriamo Utility Disco
- Ora è necessario formattare la pendrive in Mac OS Extended (Journaled) e cambiare il nome. Nel nostro caso l’abbiamo chiamata OSXINSTALLUSB
- Successivamente fare click su Opzioni e selezioniamo GUID Partition Table, click prima su “OK”, poi su “Applica”. Usciamo da Utility disco.
- Non ci resta che aprire il terminale e lanciare il seguente comando
sudo /Applications/Install\ macOS\ Sierra.app/Contents/Resources/createinstallmedia --volume /Volumes/OSXINSTALLUSB/ --applicationpath /Applications/Install\ macOS\ Sierra.app --nointeraction
Ci verrà richiesta la password di amministratore
Se i passaggi sono stati effettuati correttamente, ecco cosa dovremmo vedere nel nostro terminale
iMac-27:~ nello$ sudo /Applications/Install\ macOS\ Sierra.app/Contents/Resources/createinstallmedia --volume /Volumes/OSXINSTALLUSB/ --applicationpath /Applications/Install\ macOS\ Sierra.app --nointeraction
Password:
Erasing Disk: 0%... 10%... 20%... 30%...100%...
Copying installer files to disk...
Copy complete.
Making disk bootable...
Copying boot files...
Copy complete.
Done.
iMac-27:~ nello$
How to create Sierra bootable USB pendrive


